How to Purify Water in the Wild: 7 Proven Methods for Safe Drinking Water
When you’re exploring the great outdoors, knowing how to purify water in the wild isn’t just useful—it’s essential. Drinking contaminated water can quickly turn a thrilling adventure into a life-threatening ordeal. In this article, we’ll cover seven reliable methods to ensure your water is safe to drink, wherever your journey takes you.
Access to clean water is a foundational element of survival. According to the World Health Organization, consuming contaminated water can lead to serious illnesses such as cholera, dysentery, typhoid, and hepatitis A. For preppers, survivalists, hikers, and outdoor enthusiasts, learning how to identify, collect, and purify water in the wild is non-negotiable. In this comprehensive guide, we’ll delve deeper into each of the seven water purification methods, explore their pros and cons, share practical tips, and help you decide which method is best for different scenarios.
1. Boiling
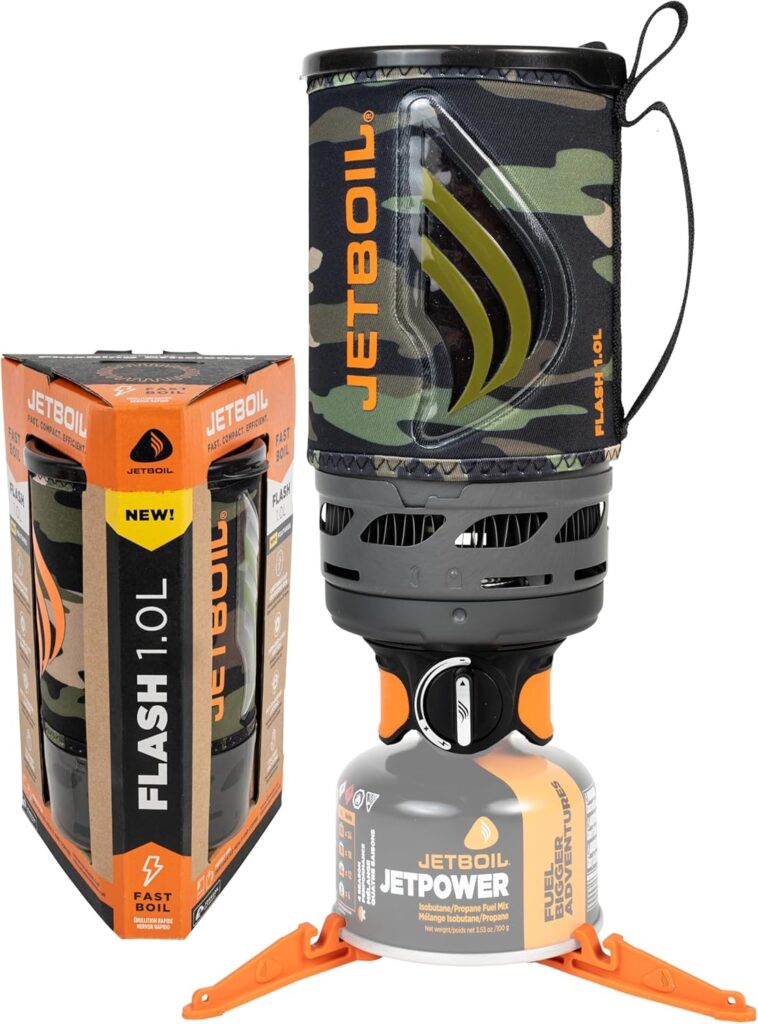
Boiling is the oldest and most trusted method to purify water in the wild. Simply bring water to a rolling boil and maintain it for at least one minute (three minutes at altitudes above 6,500 feet or 2,000 meters). Boiling eliminates bacteria, viruses, and parasites, ensuring the water is safe for drinking.
Pros:
- Kills most biological contaminants (bacteria, viruses, protozoa)
- Requires no special equipment beyond a heat source and container
- Reliable and widely accessible
Cons:
- Requires a fire or stove and a fuel source
- Doesn’t remove chemical pollutants, heavy metals, or sediment
- Time-consuming compared to other methods
Pro Tip: If your water source contains sediment, pre-filter it using a cloth or coffee filter before boiling to avoid drinking gritty water.
Recommended Gear:
- Jetboil Flash 1.0L – lightweight and reliable
2. Chemical Purification
Using purification tablets or liquid chemicals like iodine, chlorine, or chlorine dioxide is quick and effective. Add the recommended amount to your water, stir, and wait for at least 30 minutes before drinking.
Pros:
- Lightweight and portable
- Effective against most pathogens
- Long shelf life (great for emergency kits)
Cons:
- May leave an unpleasant taste or odor
- Iodine is not recommended for pregnant women or people with thyroid conditions
- Not effective against chemical contamination or some parasites like Cryptosporidium
Pro Tip: Use flavor-neutralizing tablets to reduce the aftertaste or mix with flavored drink powders after treatment.
Recommended Gear:

3. Portable Water Filters
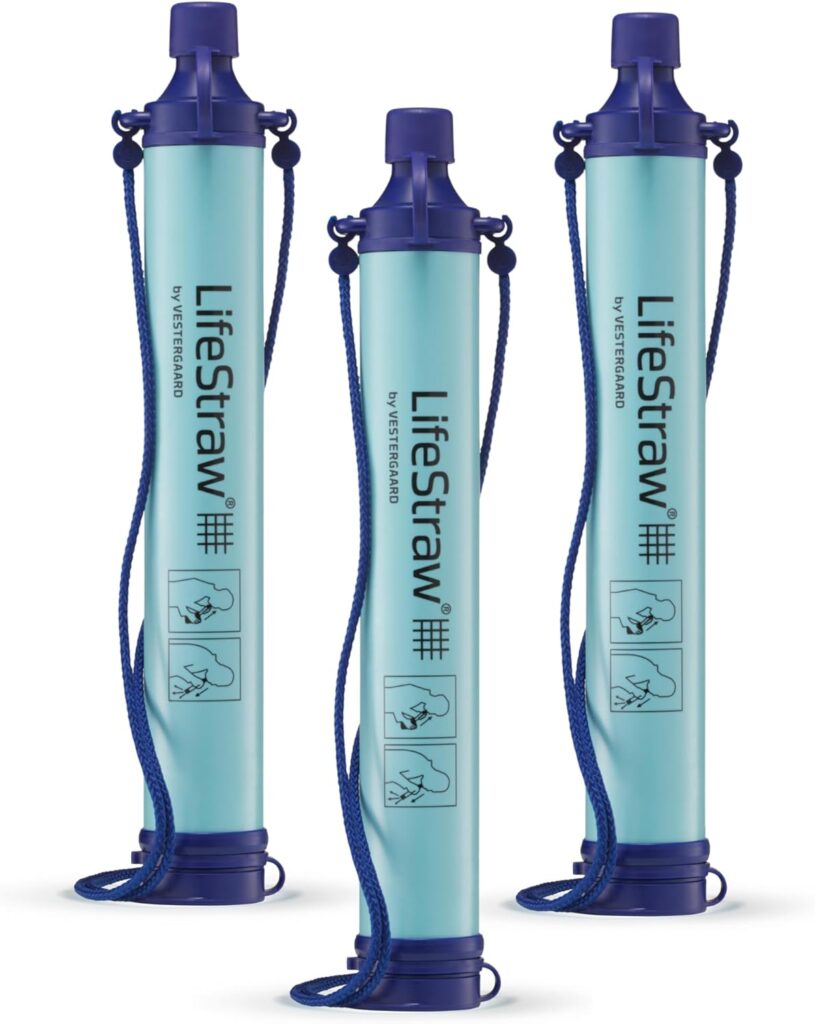
Portable filters, such as straw-style filters, gravity-fed systems, and pump-action filters, physically remove contaminants from water. Look for filters with a pore size of 0.2 microns or smaller, as they can effectively filter out bacteria and parasites.
Pros:
- Easy to use and fast
- Removes bacteria, protozoa, and sediment
- Great for on-the-go filtration
Cons:
- May not remove viruses (unless explicitly rated for viral removal)
- Filters can clog over time
- Some models require manual pumping
Popular Brands: LifeStraw, Sawyer Mini, Katadyn Hiker Pro
Pro Tip: Backflush your filter regularly to maintain flow rate and performance.
Recommended Gear:
4. UV Light Purifiers
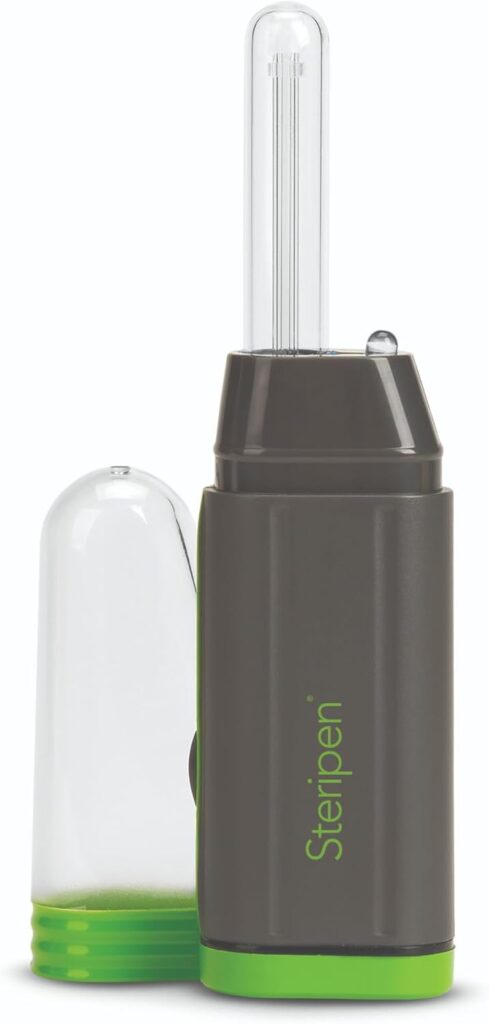
Portable ultraviolet (UV) purifiers, such as SteriPEN devices, utilize UV rays to neutralize bacteria, viruses, and protozoa. Insert the device into your water container and stir for the recommended time (usually about 90 seconds per liter).
Pros:
- Kills a broad spectrum of microorganisms, including viruses
- Lightweight and compact
- Fast and simple
Cons:
- Requires batteries or USB charging
- Ineffective in turbid or murky water (pre-filtering recommended)
- Higher upfront cost
Pro Tip: Always carry spare batteries or a solar charger if relying on a UV purifier during extended trips.
Recommended Gear:
5. Solar Water Disinfection (SODIS)
This method involves filling a clear PET plastic bottle with water and exposing it to direct sunlight for at least six hours (or two days in cloudy weather). UV-A radiation and heat work together to kill pathogens and can be a great last resort to purify water in the wild if you’re restricted with supplies.
Pros:
- Low-tech and free
- No chemicals or equipment required
- Great backup method
Cons:
- Weather-dependent and time-consuming
- Ineffective in cold climates or during rainy seasons
- Only works with clear bottles and clear water
Pro Tip: Place bottles on a reflective surface, such as aluminum foil or a metal roof, to increase UV exposure and speed up the disinfection process.
6. Distillation
Distillation involves boiling water and collecting the condensed steam, leaving most contaminants behind. It removes biological contaminants, salts, and heavy metals, making it one of the most thorough methods available to purify water in the wild.
Pros:
- Highly effective against a wide range of contaminants
- Produces pure water
- Works with saltwater or polluted sources
Cons:
- Slow and equipment-intensive
- Requires a heat source
- Not practical for quick hydration
Survival Hack: Build a solar still using a container, clear plastic sheeting, a cup, and a weight. Dig a hole, place vegetation and water in the base, and collect condensation.
7. Natural Filtration
Using natural materials like sand, gravel, and charcoal, you can create an improvised water filter in the wild. Layer the materials in a container (like a bottle or hollowed log), and pour water through.
Pros:
- Can be constructed from natural or scavenged materials
- Removes sediment and some pathogens
- Useful when no gear is available
Cons:
- Not 100% reliable on its own
- Slow filtration rate
- Should be combined with boiling or chemical treatment
Pro Tip: Burn hardwood to create charcoal and grind it up for your filter. Charcoal helps absorb toxins and improve water taste.
Comparing Methods: What Works Best Where?
| Method | Pathogen Removal | Chemical Removal | Speed | Gear Needed |
|---|---|---|---|---|
| Boiling | Excellent | Poor | Moderate | Heat source, container |
| Chemical | Good | Poor | Fast | Tablets or drops |
| Portable Filters | Good (some) | Poor | Fast | Filter unit |
| UV Purifiers | Excellent | Poor | Fast | UV device, batteries |
| SODIS | Good | Poor | Slow | Sunlight, bottle |
| Distillation | Excellent | Excellent | Slow | Setup, heat source |
| Natural Filtration | Fair | Fair | Slow | Natural materials |
Additional Tips for Water Safety
- Avoid stagnant water: Flowing sources like streams and rivers are generally safer than ponds or puddles.
- Look for upstream contamination: Be mindful of animal activity, industrial runoff, or human waste upstream.
- Double up: Combining methods (e.g., filtering + boiling) provides extra assurance.
- Carry a backup: Always have at least two purification options in your bug-out bag or EDC kit.
Water Purification and Your Survival Kit
If you’re building a bug-out bag or prepping your everyday carry (EDC) setup, include at least two reliable purification methods. Ideal combos include:
- Filter + Boiling kit
- UV Purifier + Backup tablets
- Chemical tablets + Emergency solar still materials
For preppers, redundancy is key. Don’t rely on one method alone—equipment fails, batteries die, and conditions change.
Related Reading: How to Build the Ultimate Bug-Out Bag: Complete Guide
Final Thoughts
Mastering water purification techniques can significantly enhance your survival skills and ensure safety during your wilderness adventures. By familiarizing yourself with these seven reliable methods, you’ll stay hydrated and healthy, ready to tackle whatever the wild throws at you.
Whether you’re lost in the backcountry, riding out a disaster, or just hiking for fun, water is life. Make sure it’s clean.
Stay prepared, stay safe, and always purify your water in the wild!
This article contains Amazon affiliate links.